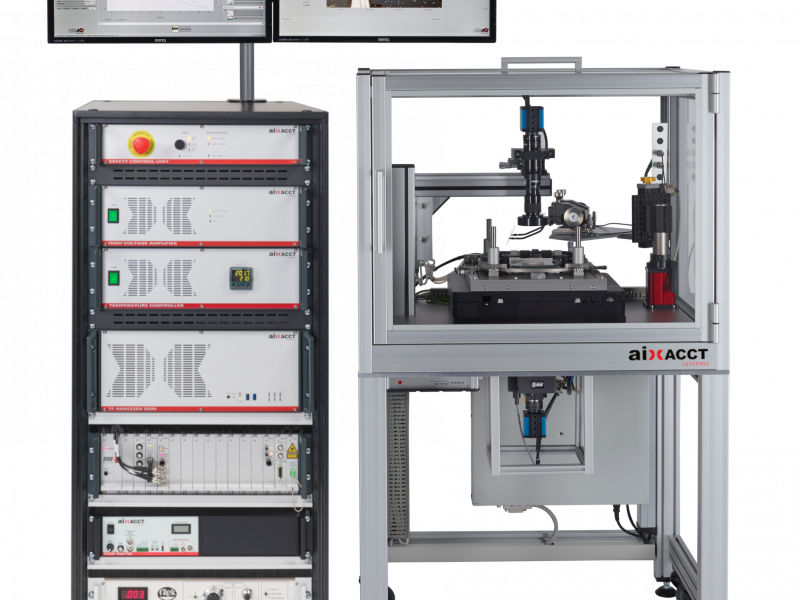
For many tests with high variability
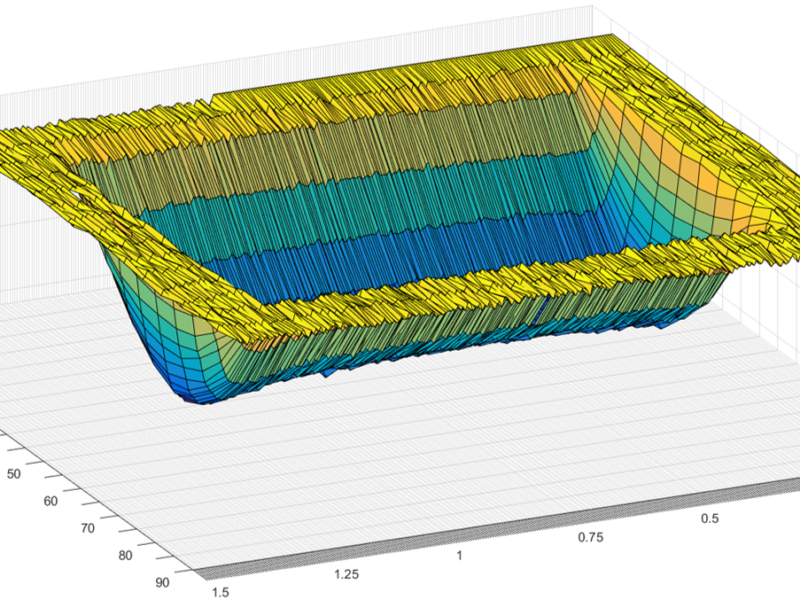
Producing thin-film print heads is a new and highly complex process. Those doing so have yet to gain much experience. As a result, any measurement system must be capable of performing a wide range of tests with high variability on the core of the entire print head. This piezo device typically consists of two wafers placed on top of each other (see image). Direct access to the active membrane is therefore only possible through the nozzle, with contact only possible on the opposite side. The sample holder must therefore be adapted to this special requirement.
Function test without ink
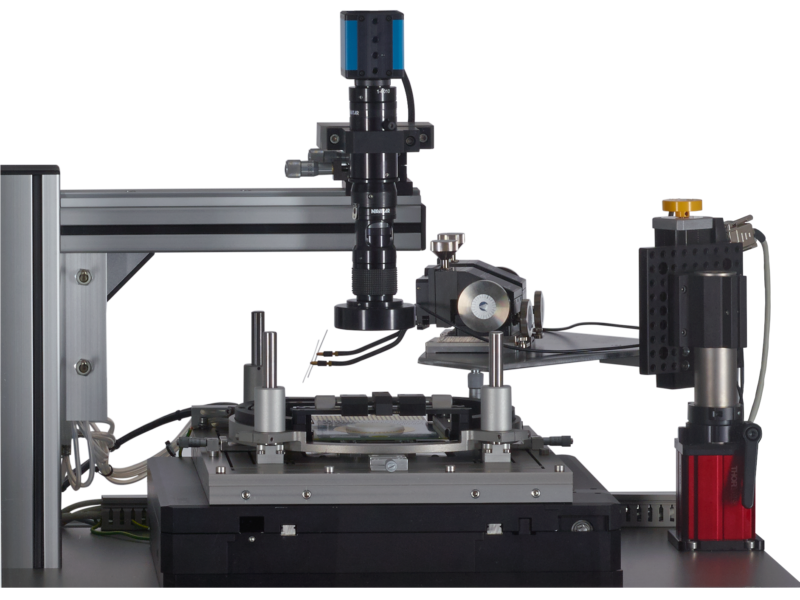
It is therefore possible to measure the deflection of the membrane via the nozzle and ink chamber. This lets users check that the print head is functioning correctly without ink. On top of this, the system has two contact methods. Users can contact a pair of electrodes with two positioners (needle holders) for the individual measurement, enabling quick and flexible testing. It is also possible to perform automated tests on a set of contacts and the corresponding nozzles one after another.
Parallel sample contacting
A customized sample card lets you contact up to 240 samples (nozzles) simultaneously and measure the deflection of each membrane in sequence. This hardware configuration also lets you generate an excitation signal parallel to all nozzles, such as for parallel poling or aging tests. Here, each position or nozzle is characterized individually at periodic intervals.
- WHAT YOU CAN DO
- Characterization in production and development
- Device qualification
- Mapping of measurements and coefficients for large and small signals
- Temperature-based measurements between RT and 200°C
- Parallel reliability and fatigue tests for piezo performance
- Determine how neighboring actuators influence each other
- Parallel poling
- Leakage current measurements
- THE BENEFITS FOR YOU
- One system for comprehensive print head assessment
- One piece of software for external hardware control (e.g. temperature controller, high-voltage amplifier, travel sensor, switching matrix, impedance analyzer, oscilloscope) and data collection
- High-precision positioning system
- Special hot chuck for temperature-based measurements enables device contacting during the heating phase
- x,y,z and teta levels for precisely adjusting the sample card to the contacts
- Two cameras with lenses for aligning the contacts and laser
- Laser interferometer with spot sizes to 5 µm
- Measurable nozzle diameter to 20 µm (displacement measurements)
- Measurable nozzle depth 100 µm (@D20 µm) (displacement measurements)
- Measurement time up to 3 s per nozzle
- Remote access and script control available
- Recipe editor and wafer mapping
- Optional database connection (ODBC) for easy access to material and device properties


